How To: Desktop Client
As there is a new sync client, you probably want to know how to use it properly.
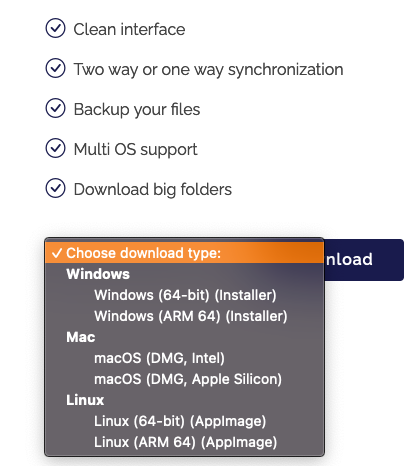
You first want to select the right application for your device.
We offer:
- Win 64-bit
- Win ARM 64
- MacOS DMG for Intel
- MacOS DMG for Apple Silicon
- Linux 64-bit
- Linux ARM 64
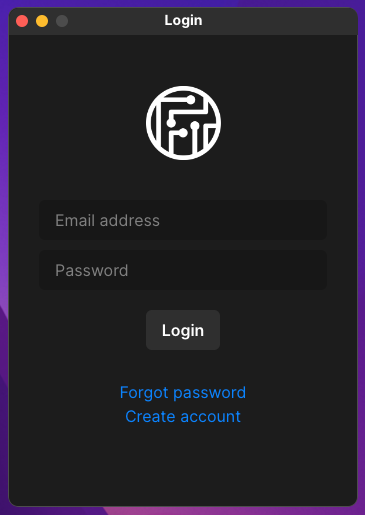
After downloading the right application for your device, you want to open the installer. You will need to login with your credentials and the optional Two-Factor-Authentication.
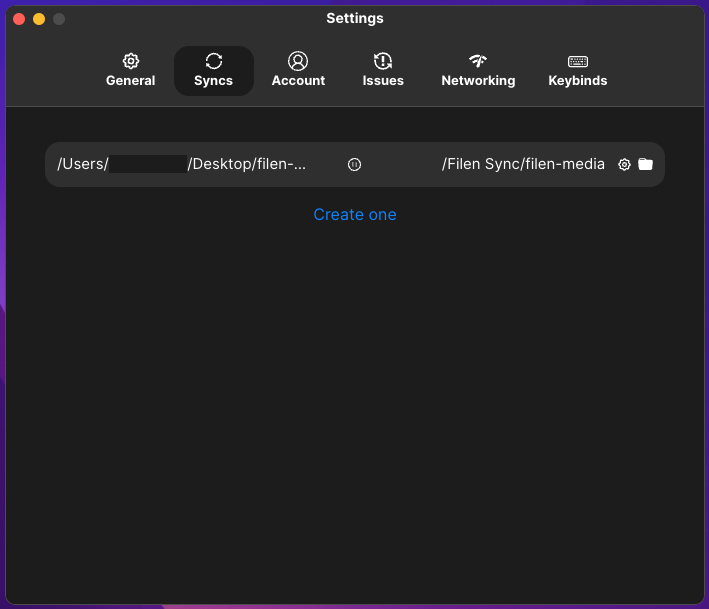
After successful login, you will be greeted by a windows in which you can create your first sync.
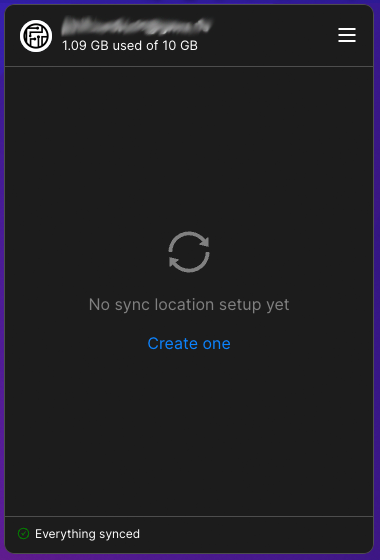
In order to start a sync, you need to click on "create one".
There you can create multiple syncs with multiple sync modes.
Please make sure to also select your remote location. This is your cloud destination and without selecting it, the sync can not start.
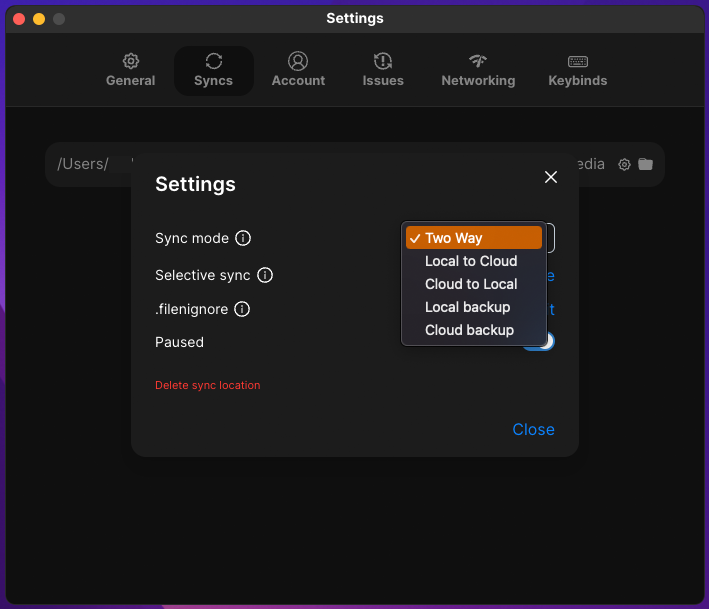
After setting up your sync, you also have the option to select a specific sync mode.
There are currently 5 sync modes in total:
- Two Way mirrors every thing your do on both ends
- Local to Cloud mirrors every action locally to the cloud but never act on changes in the cloud
- Cloud to Local mirrors every action from the cloud but never act on local changes
- Local Backup only uploads data to the cloud and never deletes anything on remote changes
- Cloud Backup only downloads data from the cloud and never delete or act on anything on local changes
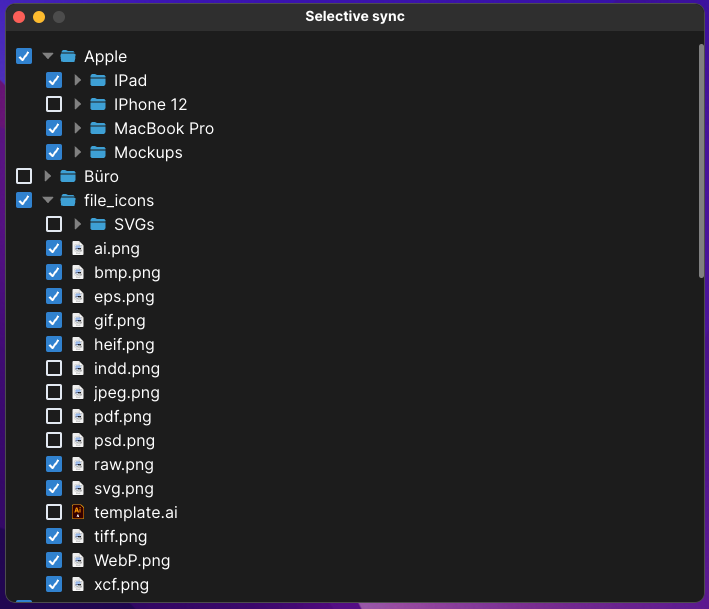
The next feature you may need is selective synchronization. You can check or uncheck files and folders that you don't want to be synchronized.
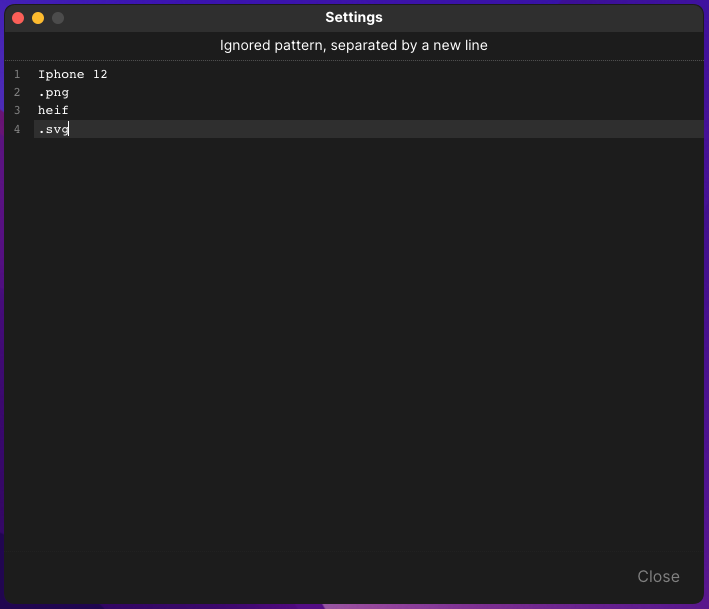
After you set up selective synchronization, you might also be interested in the .filenignore option. You can exclude file extensions, file names or even folders without excluding everything during selective synchronization.
After you have saved everything, you can unpause the synchronization again. It may take a few moments for the client to start everything. So don't worry if you don't see any progress for a few seconds.
There are still some features we haven't talked about yet.
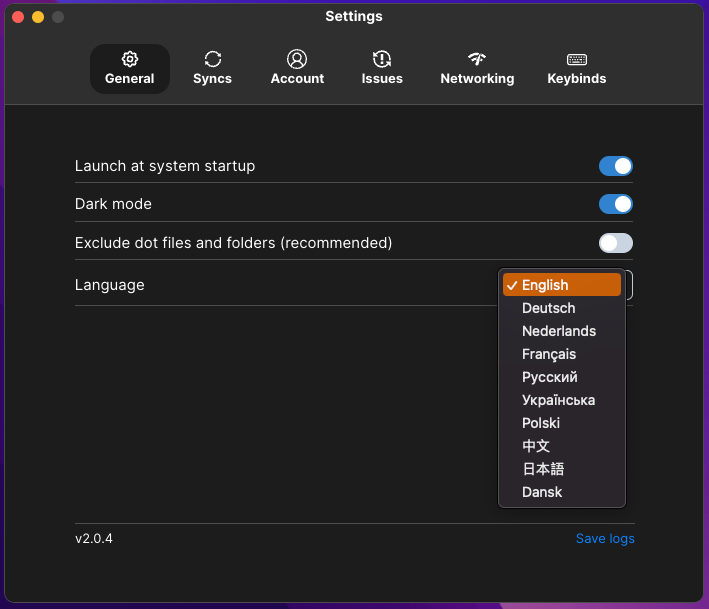
In the normal general settings, you will find the Launch at system startup which simply launches the application when you start your device.
Dark mode is enabled pe default but you can also switch back to light/white mode.
Exclude dot files and folders, which simply excludes every file or folder which is hidden in your local directory.
We provide multiple languages but we are constantly adding more languages in the future
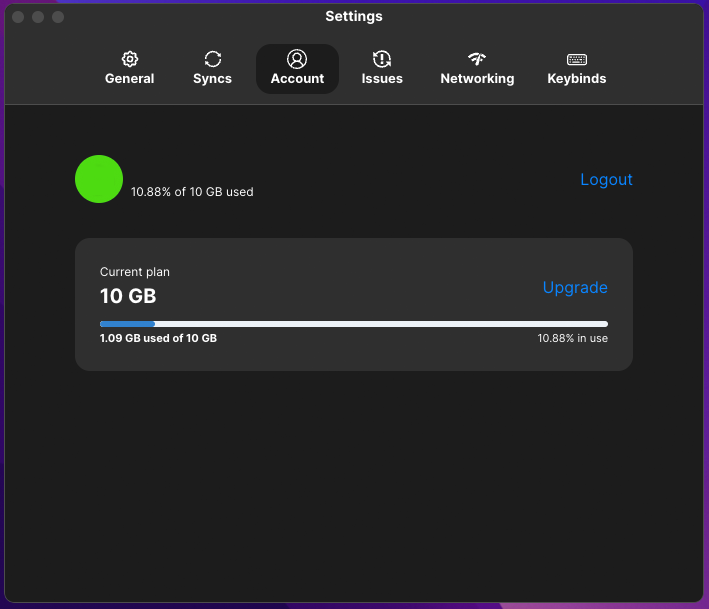
Under the "Account" tab you can always logout and check your used storage.
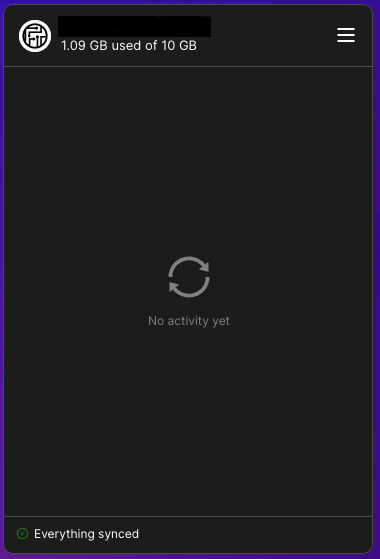
Another way to quickly check your storage is always in the top of the sync window
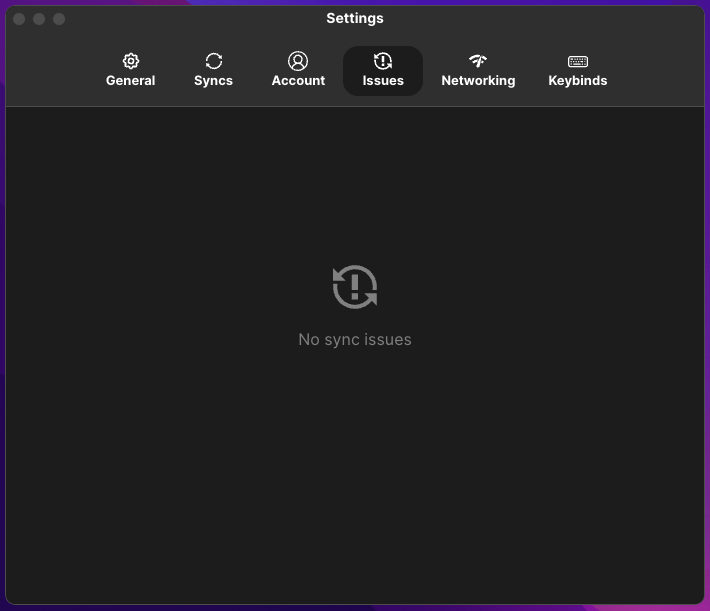
On the "Issues" tab you will find all the problems that can occur if your synchronization should stop for any number of reasons.
You can either solve the problem yourself or contact our support if the problem persists.
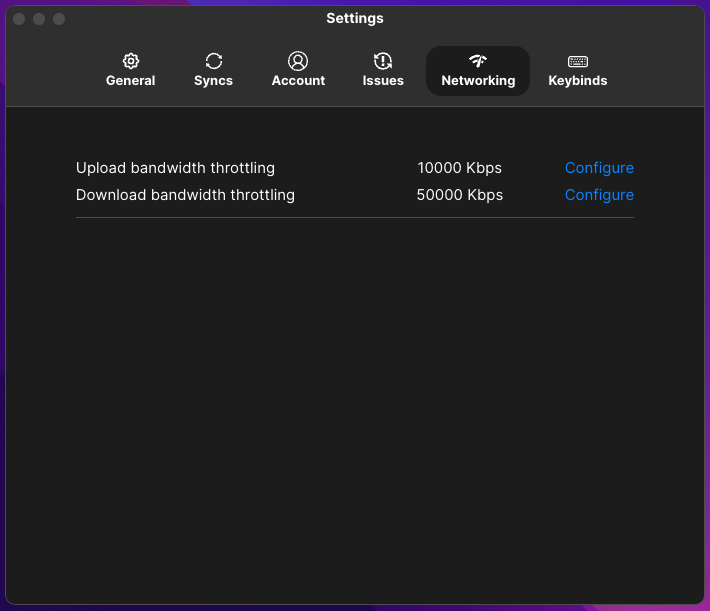
On the "Networking" tab you can limit the bandwidth if your Internet speed is not the best and you need capacity for other things.
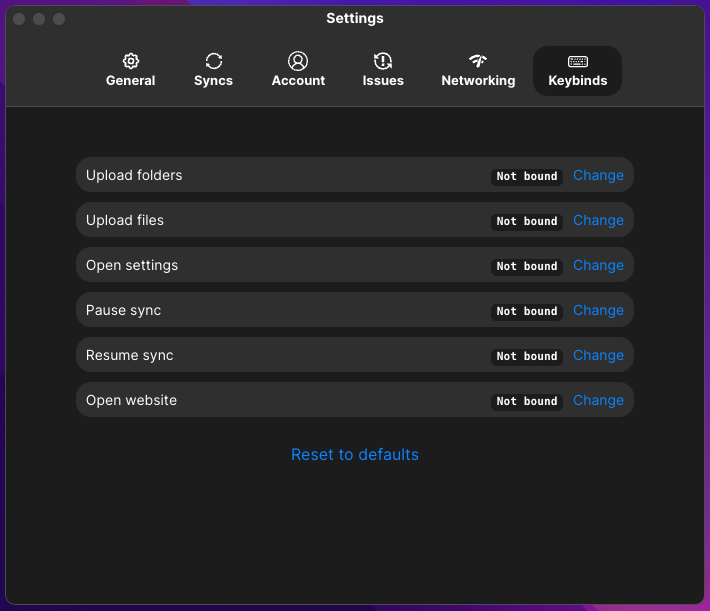
Finally we have the "Keybinds" tab. You can set multiple keybinds to
- Upload folders
- Upload files
- Open Settings
- Pause the sync
- Resume the sync
- Open the website/web-drive
That's all our new sync client can offer for now. We are constantly improving everything and we hope that this small introduction could help you to set everything up the way you need it.
All the best,
Team Filen